His assignment this week
was to make something big without using nails or anything else.I thought what can I do well?and said I love books a lot and I need to make shelves for my books that are dear to me.
group assignment you can chak here
test runout, alignment, speeds, feeds, and toolpaths for your machineOur CNC machine is called the ShopBot. It has a bed of size 96"x 48".its speeds of 1800 inches per minute and cutting speeds of up to 600 inches per minute.

I started designing with the Fusion 360 program and featured design work flexible that can be installed in more than one way
First, after opening the program, choose the surface on which I will draw. As it is shown in the picture

Then I drew a rectangle of 80 cm by 30 cm and then modified it by drawing studs
 After completing the drawing and entering all the measurements. It will be as is in the picture, only two pieces, I want my design to be like the puzzle


Then I copied each shelf into four copies And so on ,My first design was ready and I saved the file in DXF format

I did my second design that I needed in the corner of my office Also the second design is based on the same idea as the first design idea puzzle And the measurements are as shown in the picture

Now that the design is ready, I prepare the number of copies I need, And I have prepared as shown in the picture

Now after preparing the design at the woodshop time

Setting up the file (CAM)
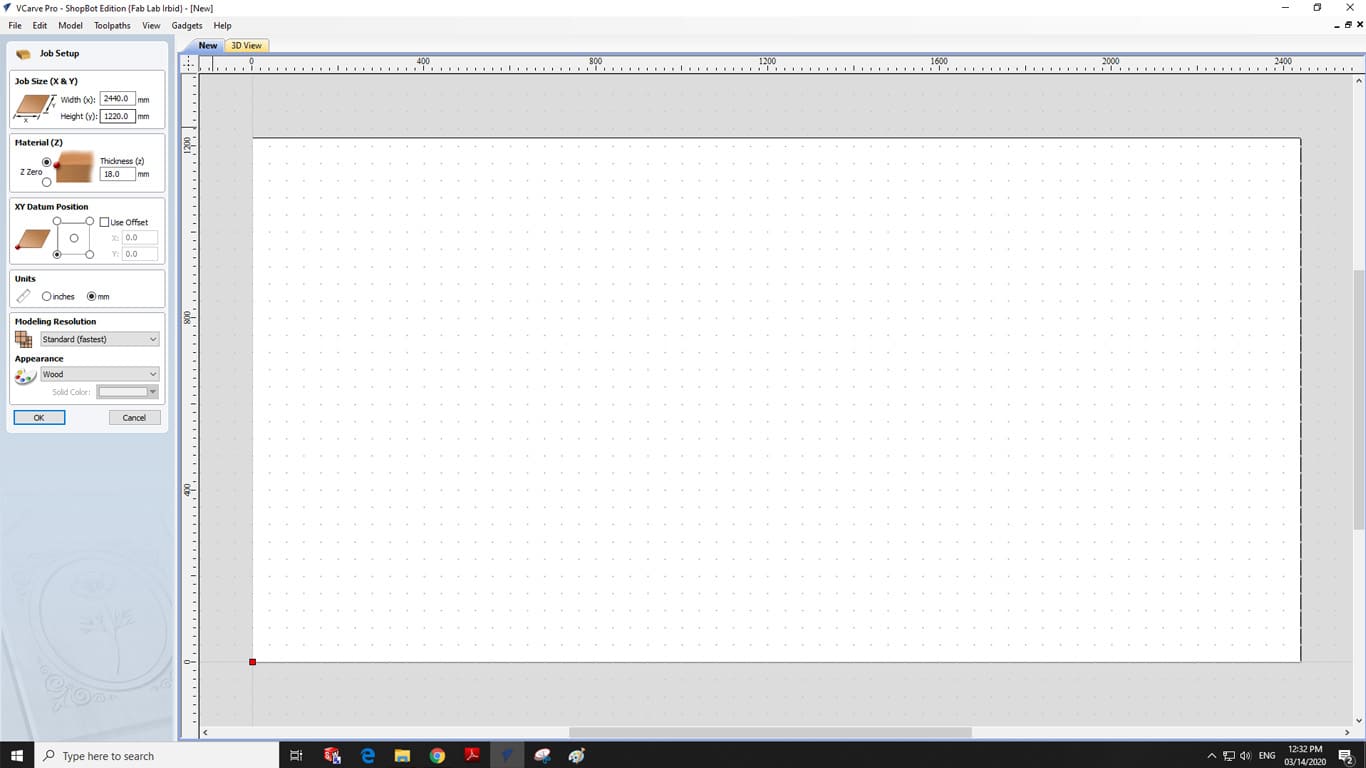
To set up the file to be sent to the CNC machine, we used the ShopBot's software which is the Vcarve Pro.
With this program, you can open your DXF file and set how it will be cut.
We choose zero for x & y, you can move the arrows till the spindle is right where you want it and you zero it there.


Befor you lunch the machine you should zero the axis to give the machine a referance,lets start with the Z axis, to make the Z axis zero in our machine it has a conductive plate of aluminum and a cupper tongs so you put the plate under the cutting bit and the cupper tongs with the end mill so when the end mill toutch the plate the machine will stop and the Z axis will be zero because when they are toutched they made a close circuit.


VCarve
Using VCarve, I adjusted the settings to suit my design needs and was as follows- Width: 2440mm
- Height: 1220mm
- Thikness "z": 18 mm
- Unite: Millimetre "mm"
- Wood Type: PlyWood
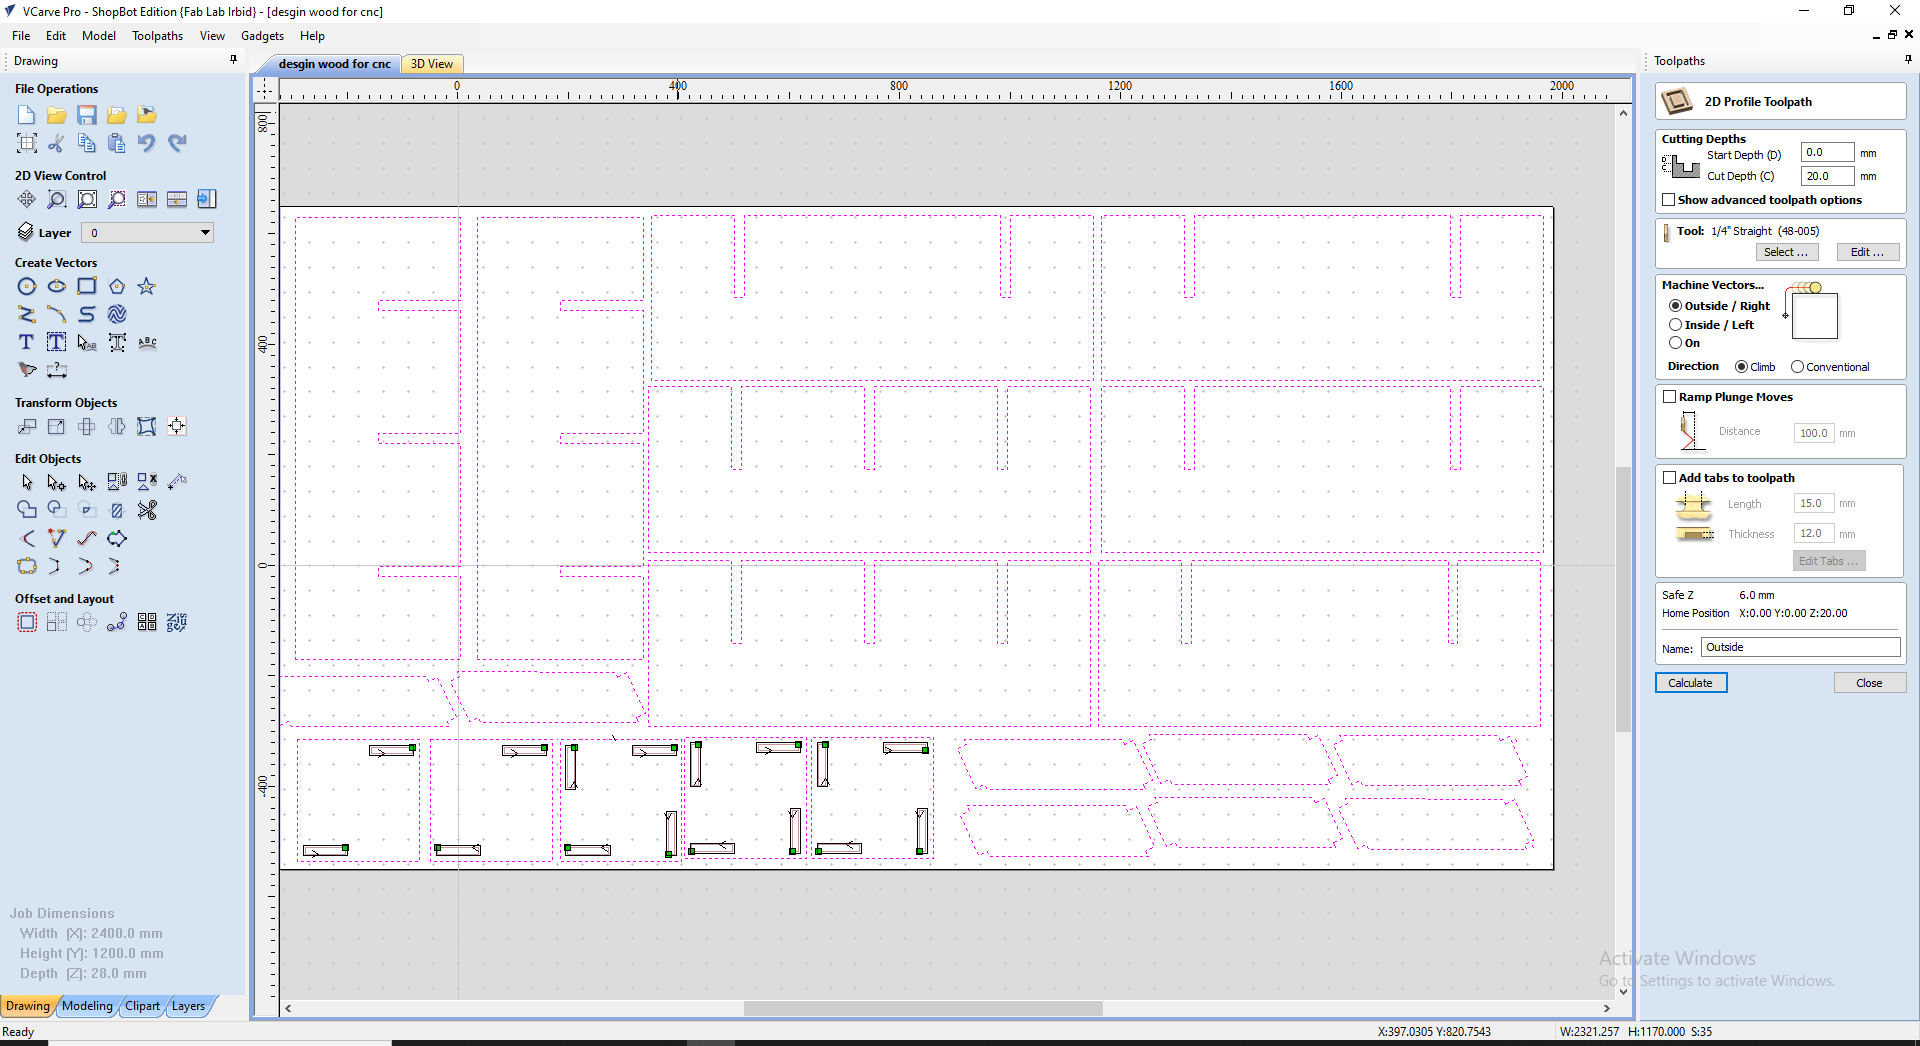
On the right there is the toolpath button clicking on it then choosing 2D Profile Toolpath we'll have this window:


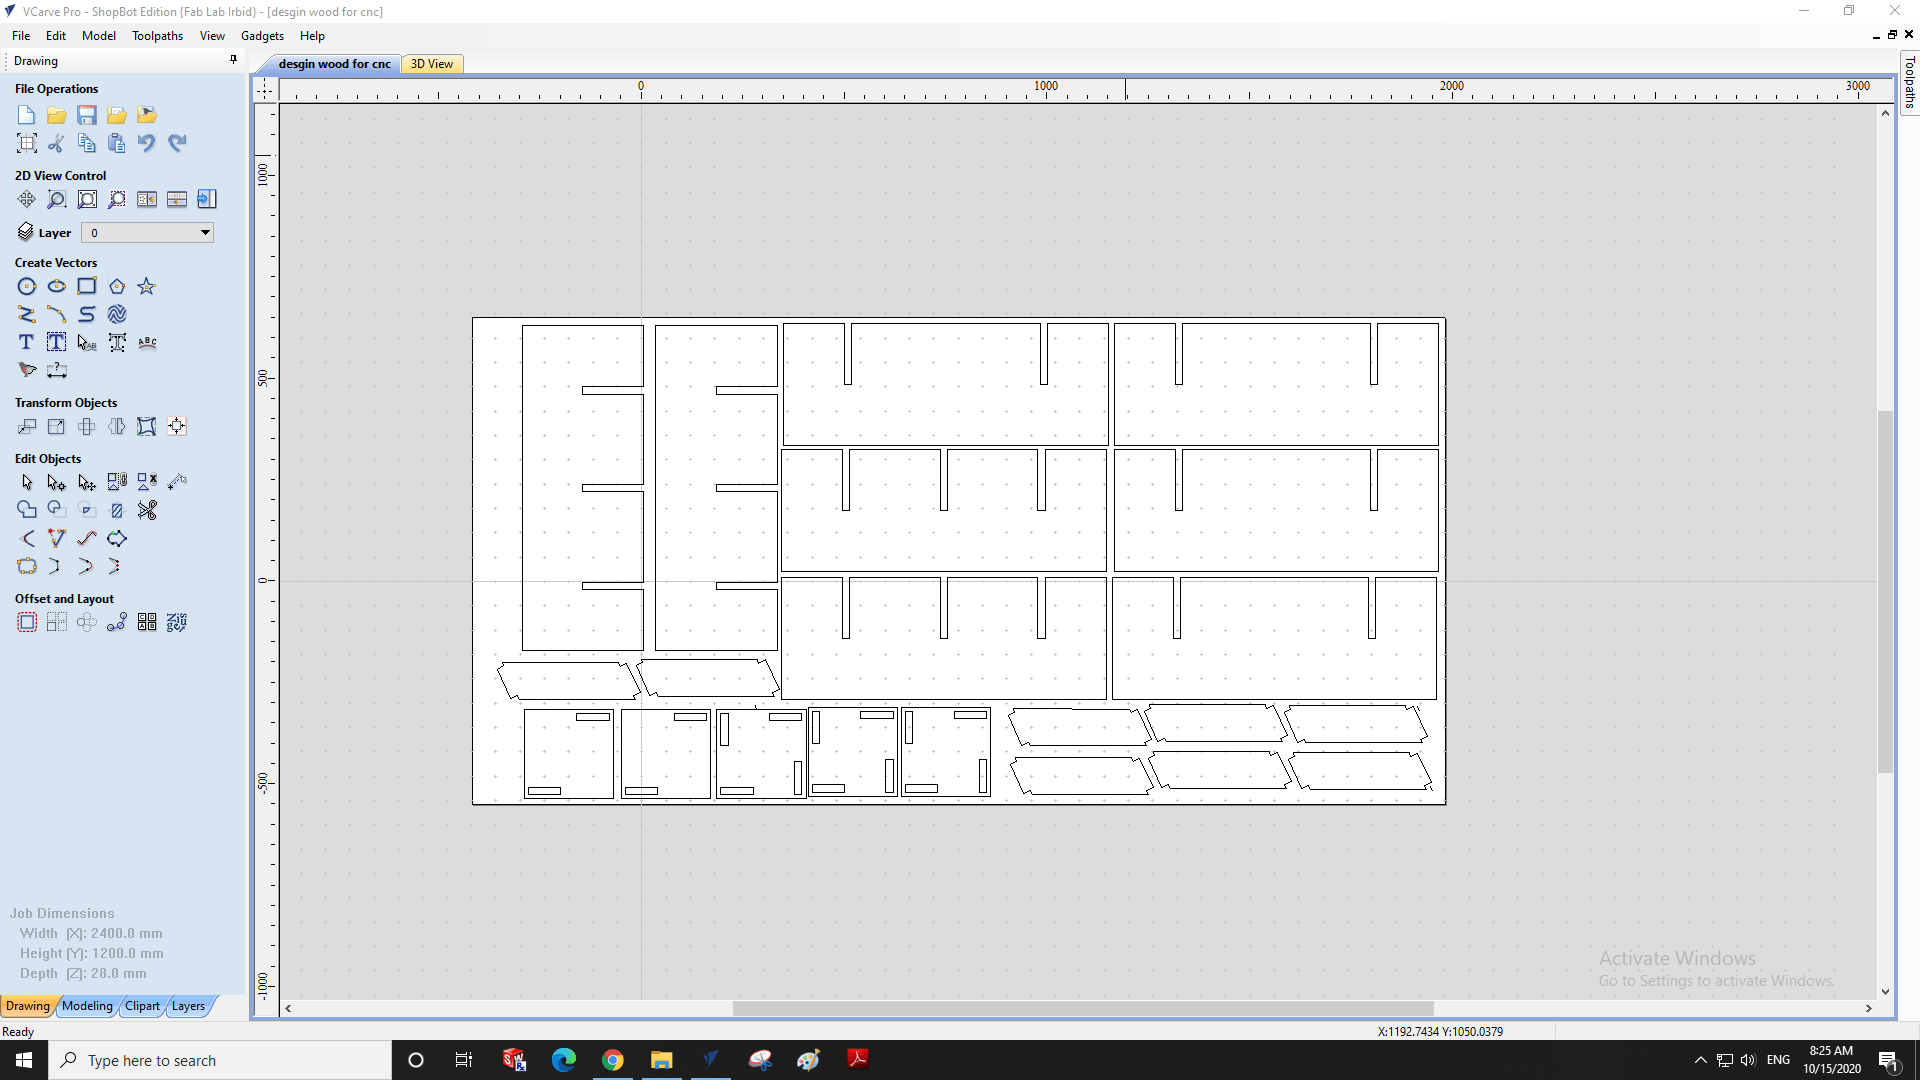
I am importing my design
InsideCut from the inside is intended to cut the parts that you do not need in the design, i.e. cut from the side that is not included in the design along the cutting line So as not to cause any errors in the cutting Attention must be paid to controlling the cutting process, for example. I chose it by "20mm" with an increase of "2mm" to ensure that the shuttlecock cuts appropriately without leaving any Other connections. |
OutsideHere also I chose the fonts that I want the machine to cut, so if you choose OutSide because if you choose the other option (InSide) the device will be cut from inside the board which part of the design, so this option is to prevent this error from occurring and specify the parts you want to cut |
 |
After determining the inside and outside cuts, I performed a simulation of the cutting process to make sure that all the settings were done correctly

First division: Cutting depth, we selected it at 20 mm to make sure that it will cut throught out 18 mm board.
Second division: Tool, There we select the settings for the tool we are using, like its diameter and the speed at which we want it to rotate.

Now the machine starts the cutting process according to the design

And now I started cleaning and curettage

After completion, start the assembly process according to the design scheme
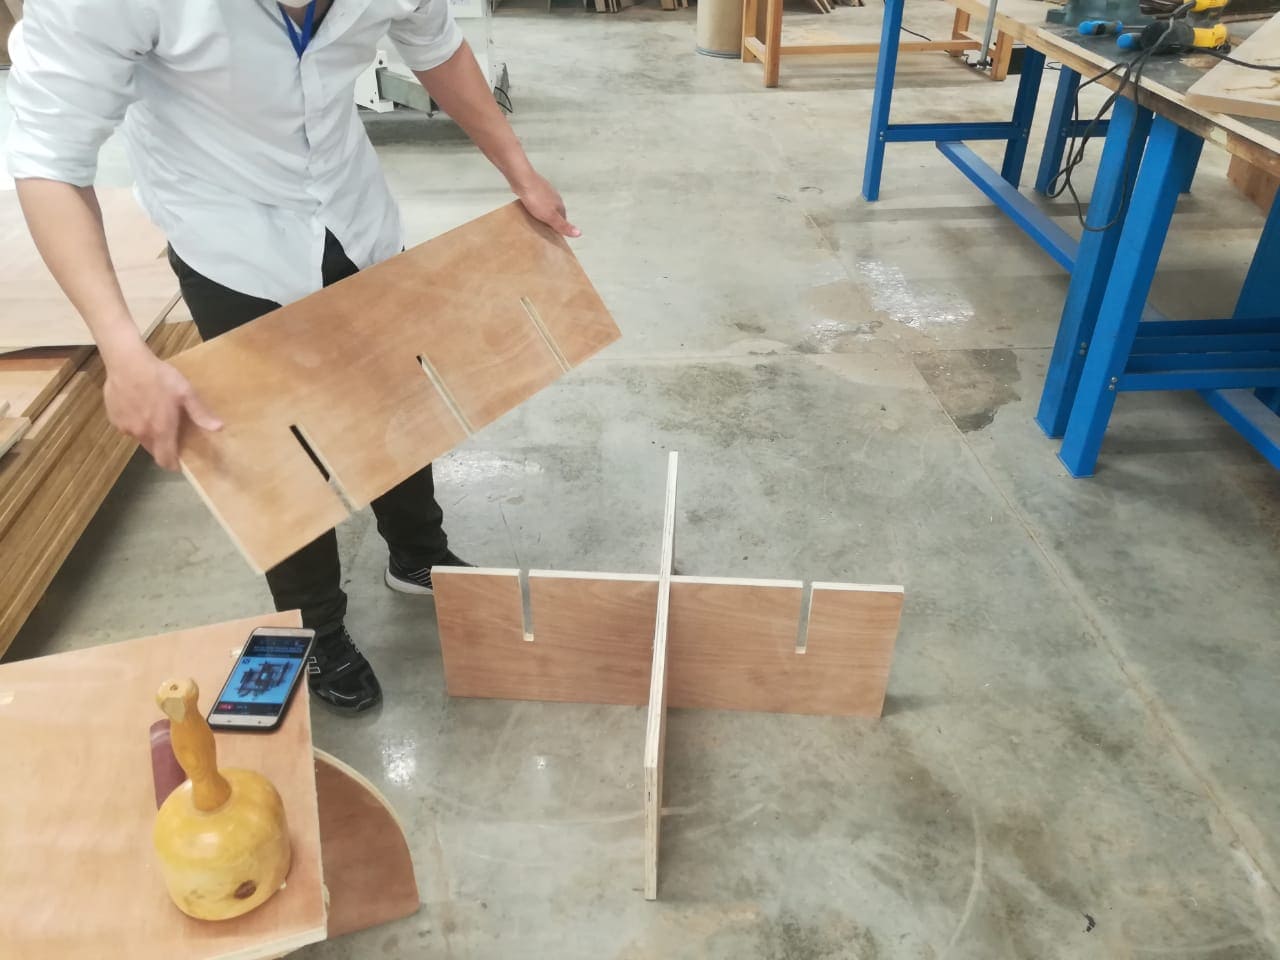
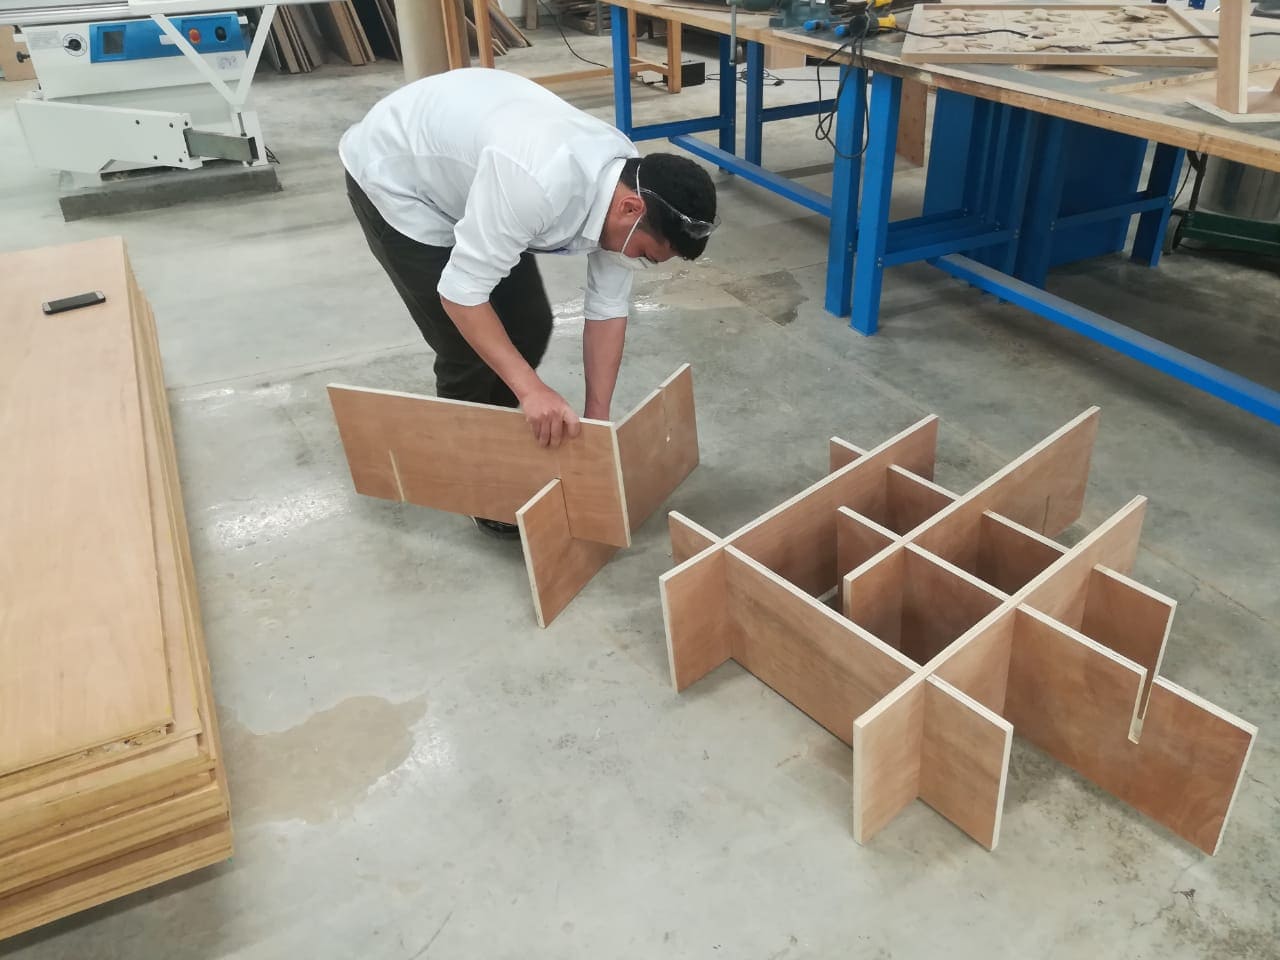
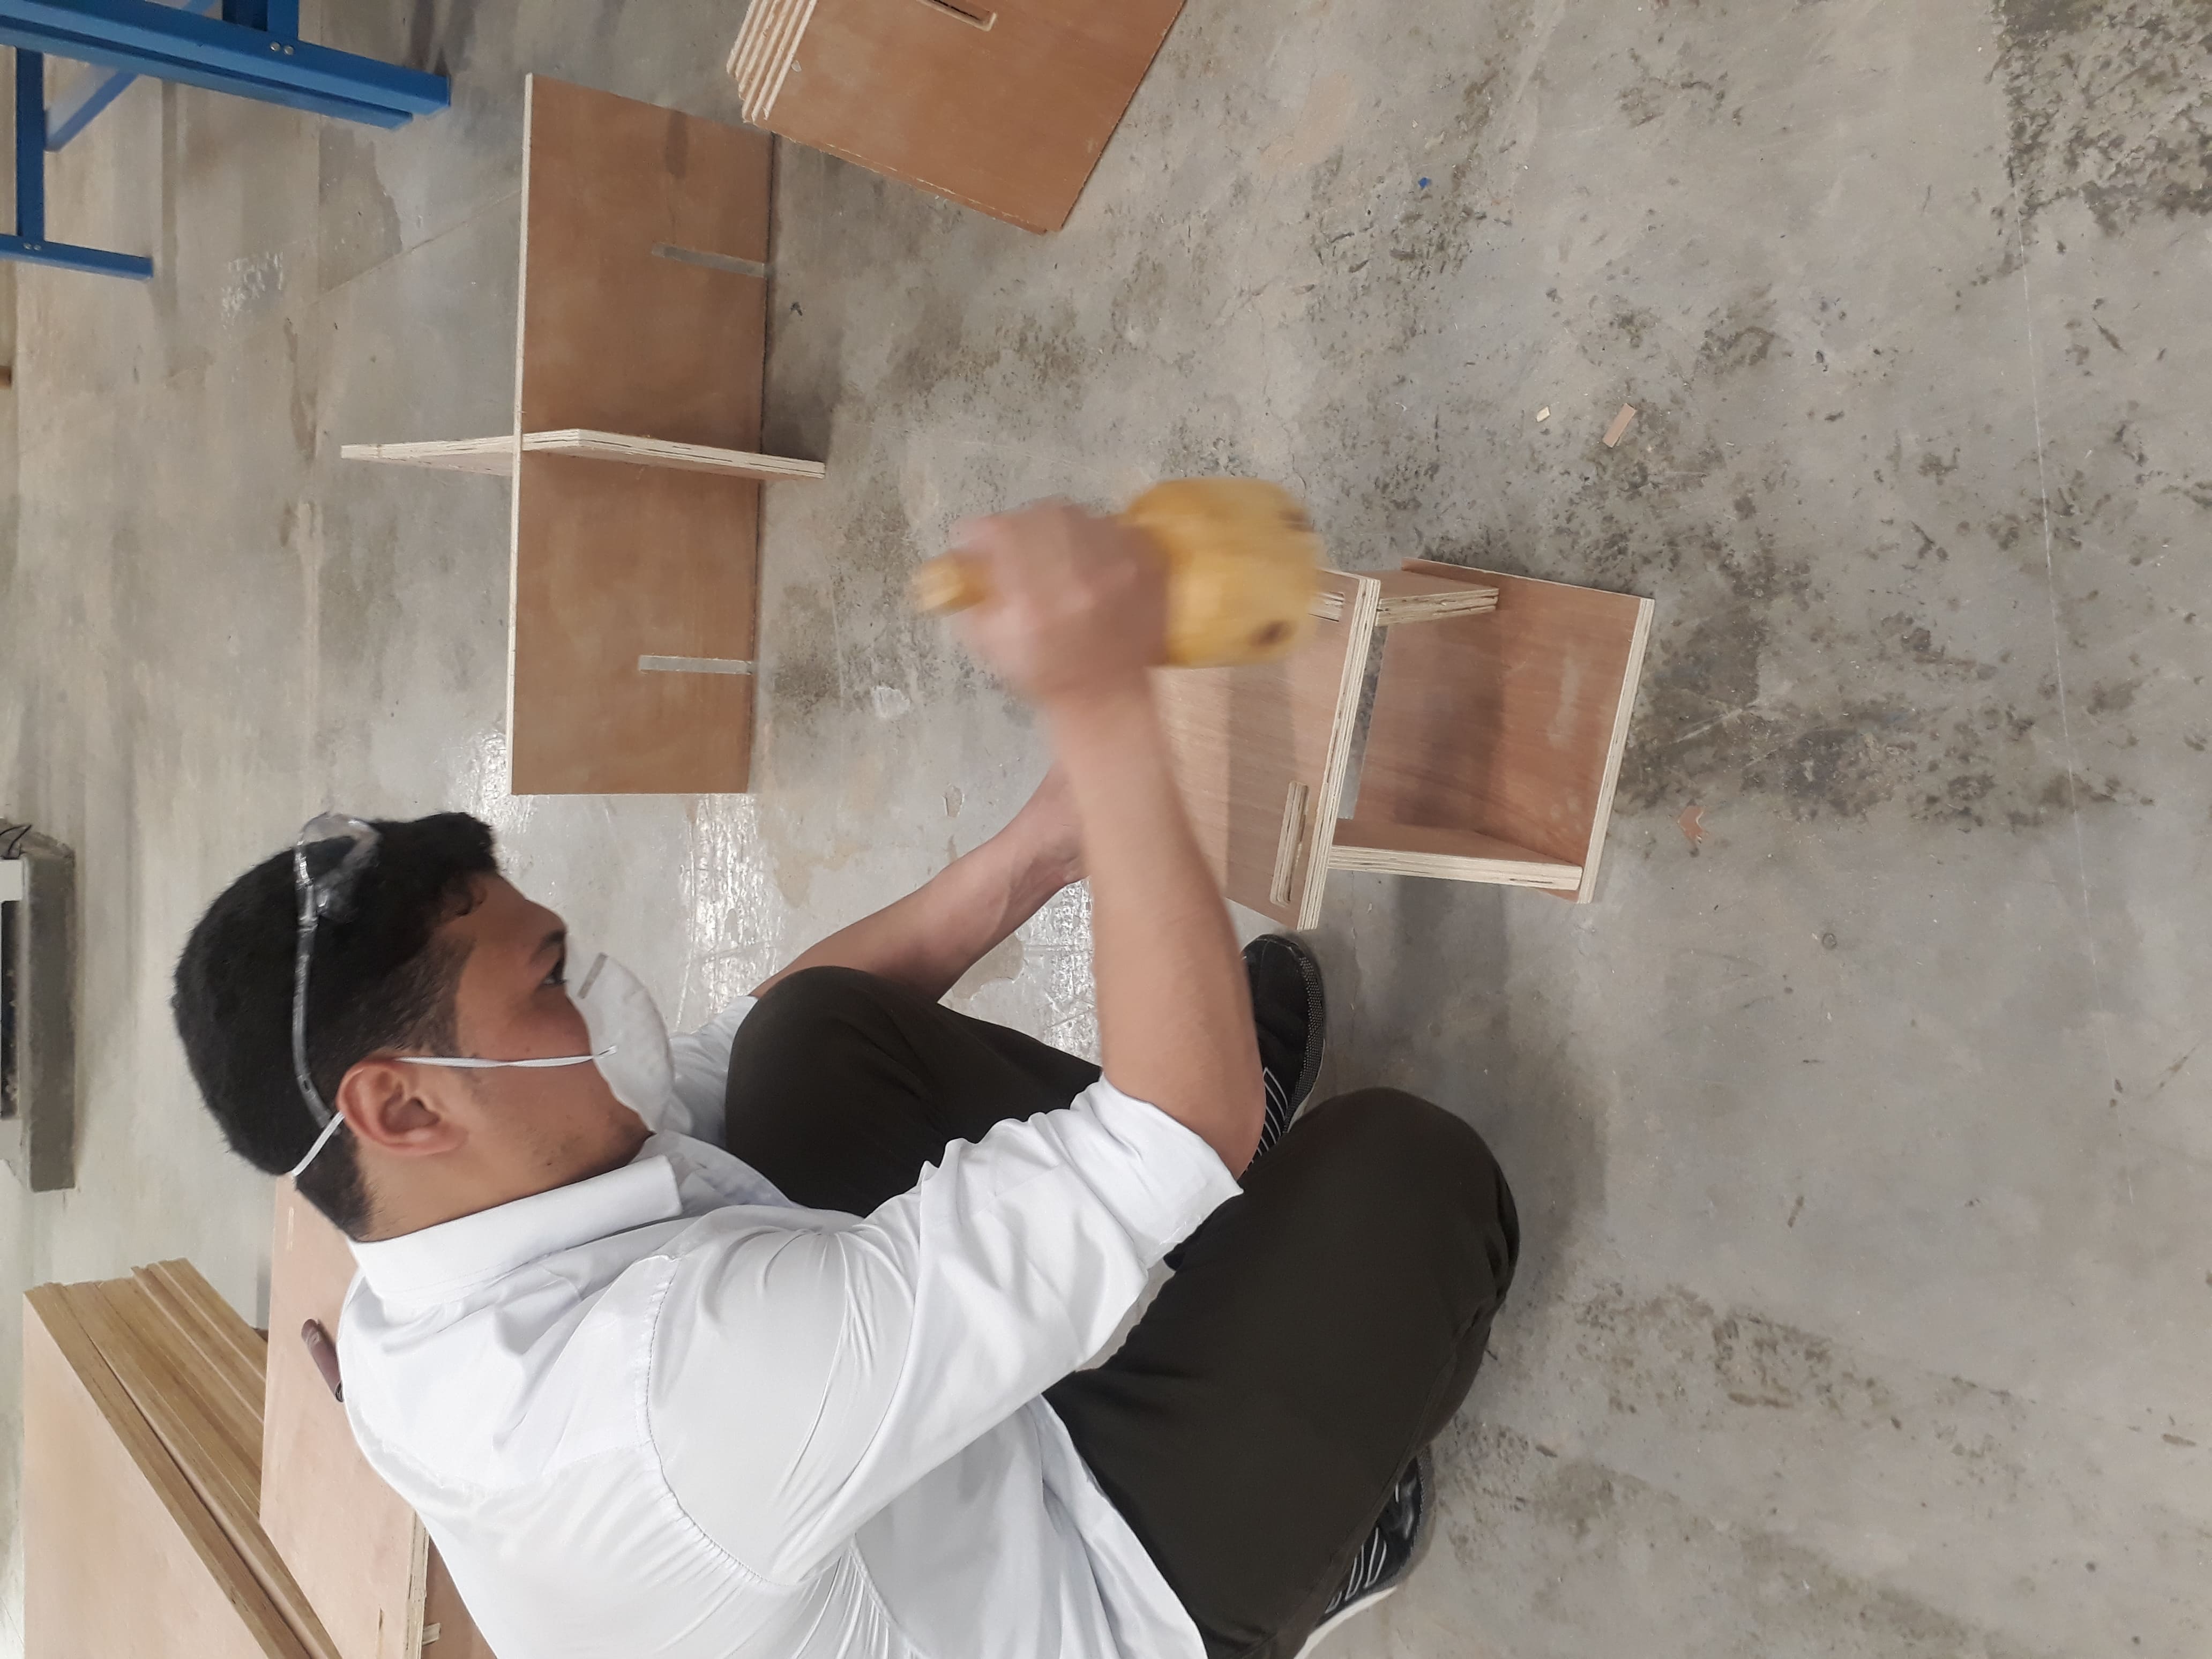
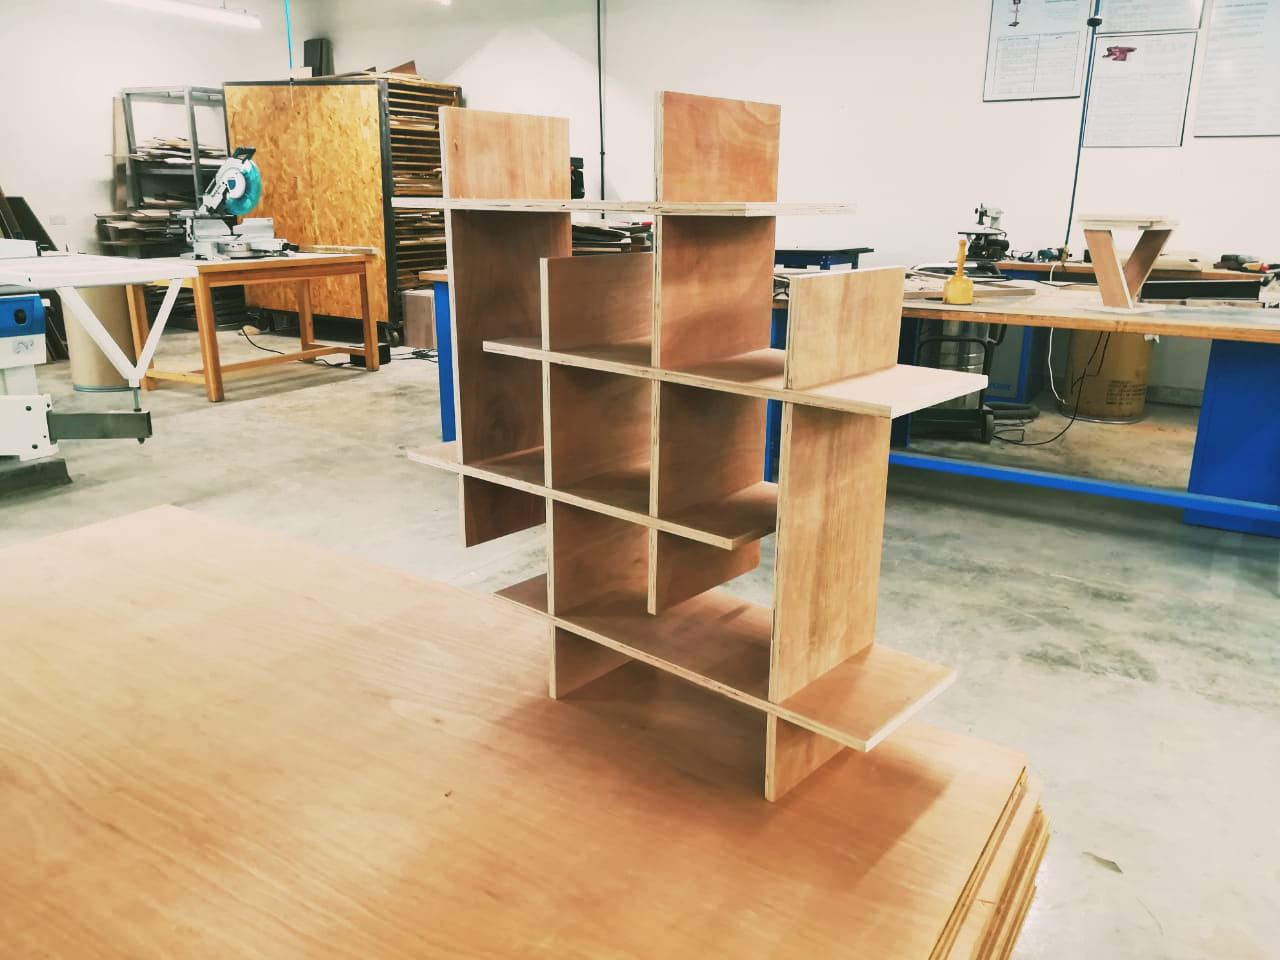
My first design is shelves for my books
My second design, I did not have the opportunity to fully install and photograph it due to the shutdown of Lab because of Corona virus But this is the design by using the Fusion 360 software
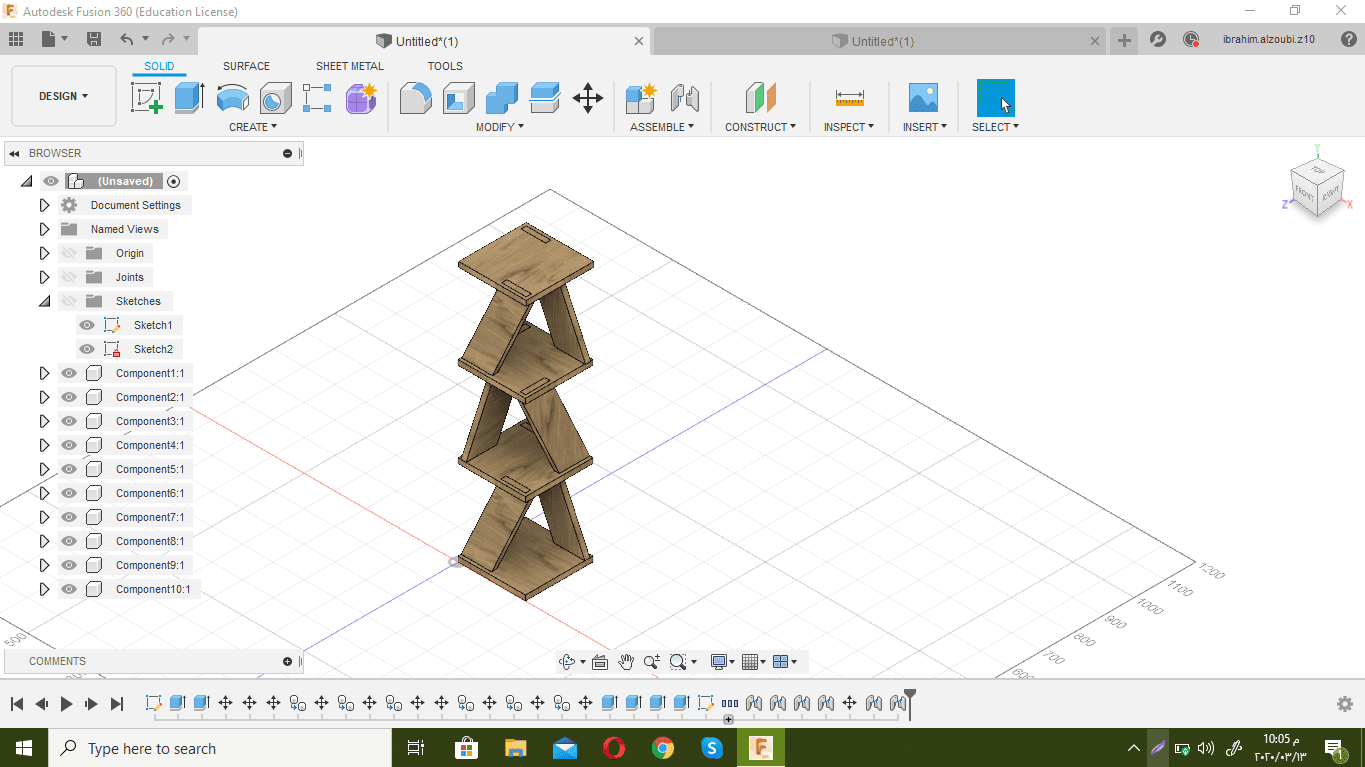
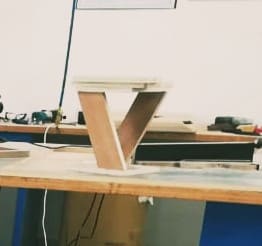
you can download my design click here